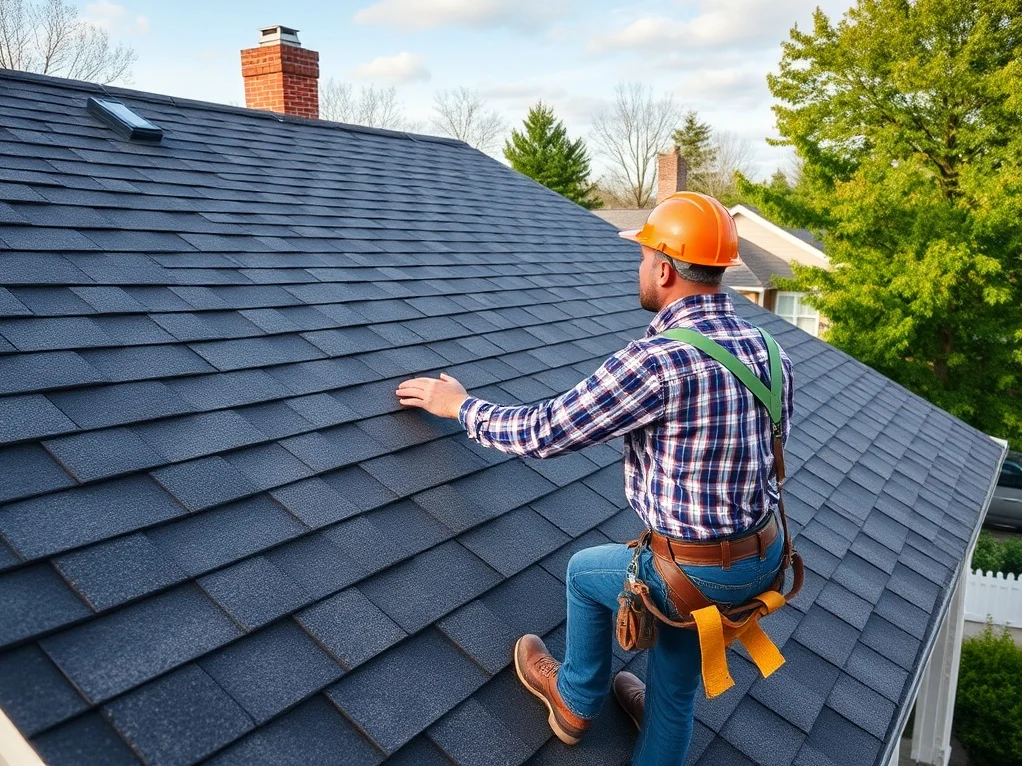
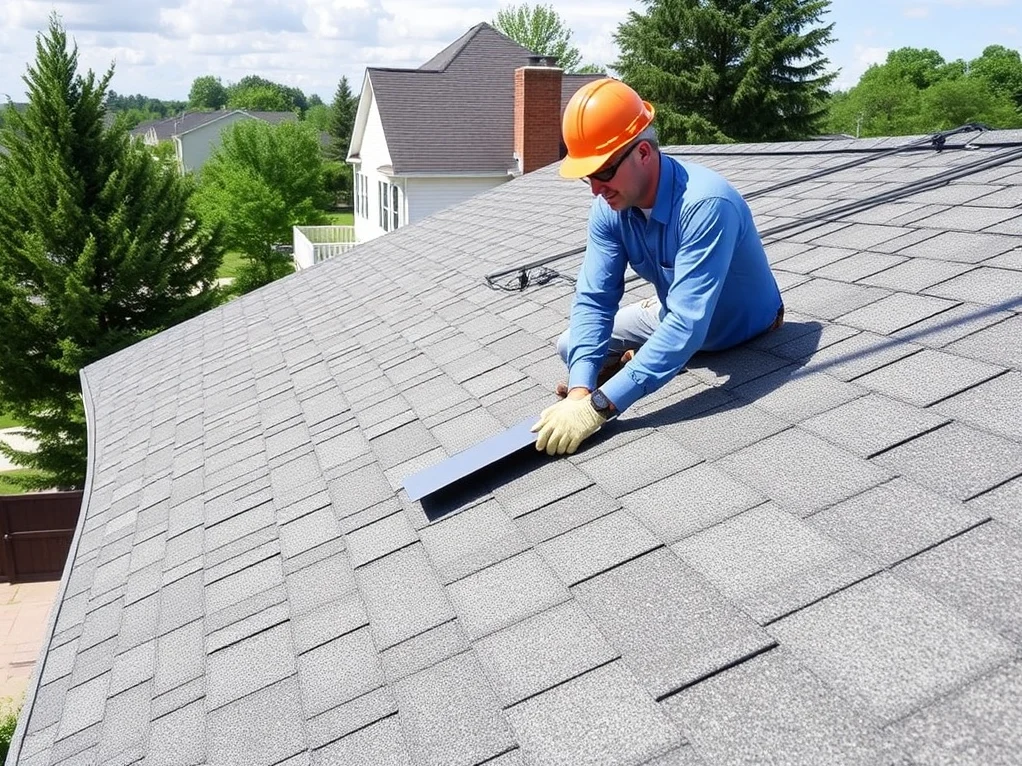
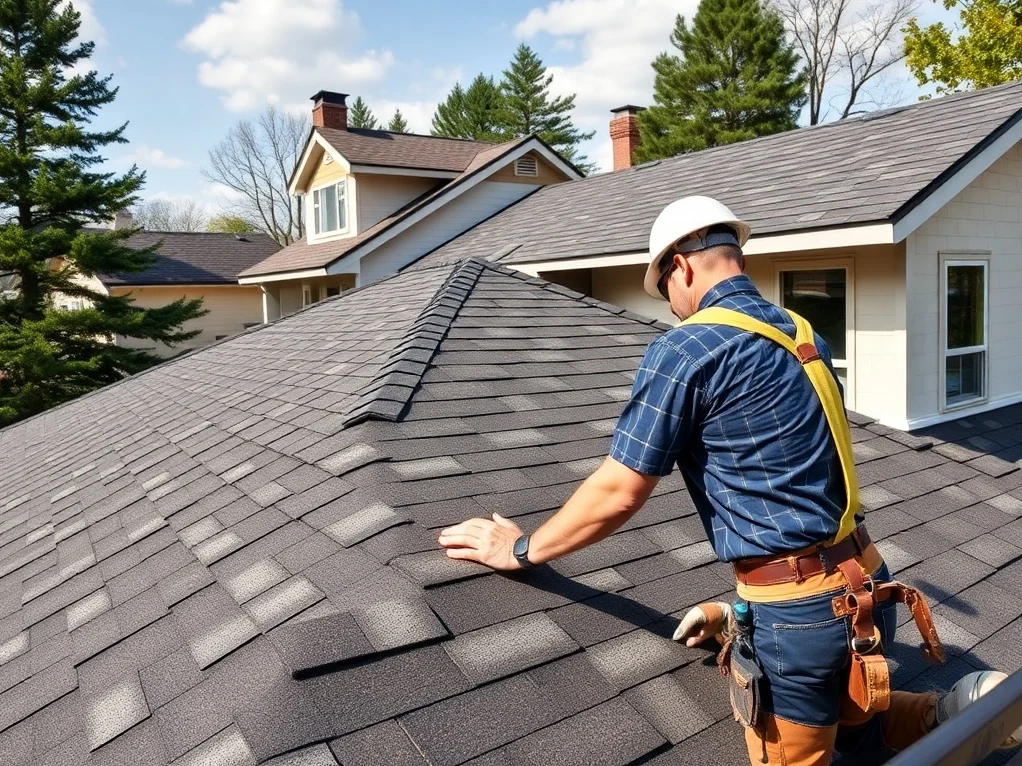
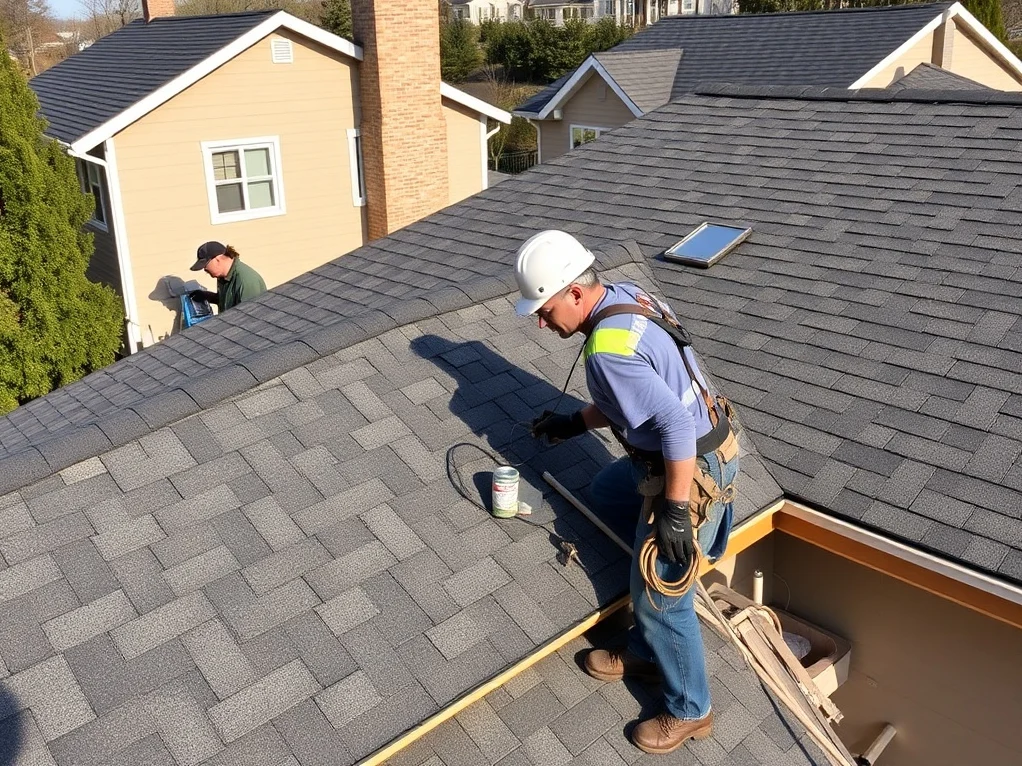
Skylight installation starts on the roof, not in the ceiling. We cut the opening between rafters, frame it square, then rebuild the weather barrier with ice-and-water shield and synthetic underlayment before the fixed skylight ever goes on.
Most leaks we tear out in the Twin Cities began at the flashing, not the glass. A skylight needs step flashing on both sides, counter-flashing tucked under a field course, and a sealant bead that flexes when temperatures swing forty degrees in a day.
On Craftsman bungalows and post-WWII ramblers, that usually means sheathing repairs first. Rotted decking under an opening will sag and pull the frame out of square, which opens gaps no amount of caulk will close.
Hail in late spring dents glass and cladding alike, so we spec impact-rated laminated glass. Heavy snowfall and ice dams are why we raise the curb and set snow guards above the unit.
Here is what we install most often, and when each option earns its price.
- Fixed skylights deliver the most daylight per dollar and have no moving parts to freeze.
- Vented skylights open for airflow, which pulls summer heat out of an attic that only has soffit vent and ridge vent working for it.
- Solar-powered blinds shade a unit without new wiring, which matters in bedrooms where morning glare is the real complaint.
- Sun tunnels, including Solatube, pipe daylight down a reflective tube to a hallway or bath where the roof pitch will not allow a full unit.
- VELUX curb-mount skylights are what we recommend over stairs and kitchens, because replacement parts stay available years later.
Every unit we set meets Minnesota building code for glazing and insulation values, and we air-seal the shaft so conditioned air stops escaping into the attic. A leaky shaft costs more in heat loss than the glass earns back in daylight.
Waterproofing a skylight is a layered system, not a tube of mastic. We set self-adhered membrane, drip edge, and roofing felt or tar paper as a slip sheet, then use roof cement only where the manufacturer asks for it.
Not every roof should get one. Under a 3:12 pitch, water ponds and we tell you to skip it. If the attic insulation is failing, that gets fixed first.
Here is how the work runs, start to finish.
- Roof inspection and free estimate, with attic access so we can read the sheathing and insulation from both sides.
- A design consultation to choose the unit, shaft layout, and interior finish before we order any material.
- Deck protection, with ice-and-water shield laid across the opening and lapped up the curb.
- Framing and flashing, including blocking between trusses or rafters, then step flashing, counter-flashing, and drip edge at the eave.
- Interior finish, with drywall, trim, and paint handled by the same crew that cut the hole.
- Water test, cleanup, and a walkthrough, with debris hauled off in our dumpster.
Expect a scaffold or ladder set, safety harness anchors, a nail gun and air compressor, pry bars, roofing shovels, and a roofing square or two on the deck. We hand-seal fasteners and back-nail where the shingle course crosses the curb.
Roof type decides the flashing detail. Architectural shingle and three-tab shingle roofs take a standard kit, while wood shake or cedar shake needs a wider pan. Slate, clay tile, and concrete tile require cutting and copper.
Standing-seam panel and corrugated panel roofs clamp a curb to the seam instead of driving screws through the pan.
Flat sections such as TPO, EPDM, PVC membrane, modified bitumen, or a built-up roof over tar and bitumen need a curb wrapped in membrane and a clear scupper or drain.
Dormers, gables, mansard, and gambrel rooflines each want a different curb, and a parapet or coping wall changes the plan again. We check fascia, soffit, rake, verge, eave, and overhang trim while the roof is open.
Metal roofs built on purlin, batten, and counterbatten systems need the curb anchored to structure, not to the substrate. We use ring-shank nails sized to the sheathing, avoid overdriven heads, and never trust adhesive and one screw against wind uplift.
While the roof is open we check chimney flashing, pipe flashing, pipe boots, vent boots, and the existing ridge cap, valley, and hip. From the attic we read the joists, truss, and ridge beam for sag, and we note any coating, torch-applied tar, or weatherproofing added before us.